


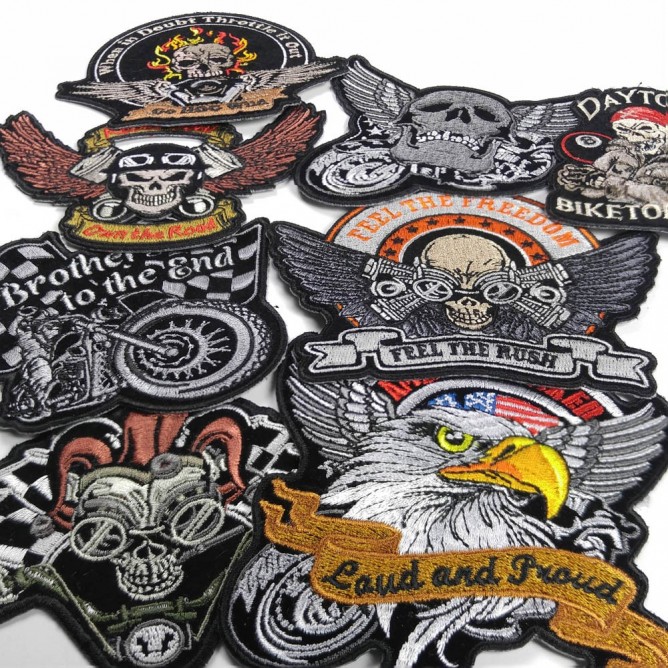
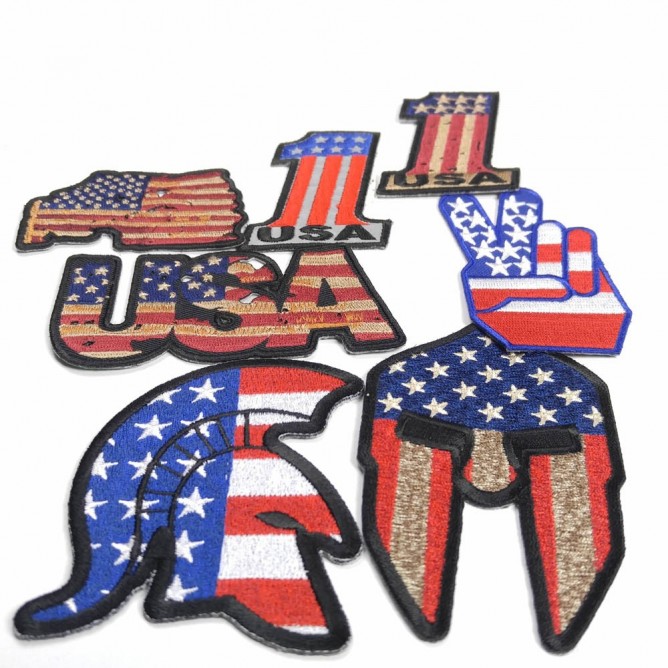
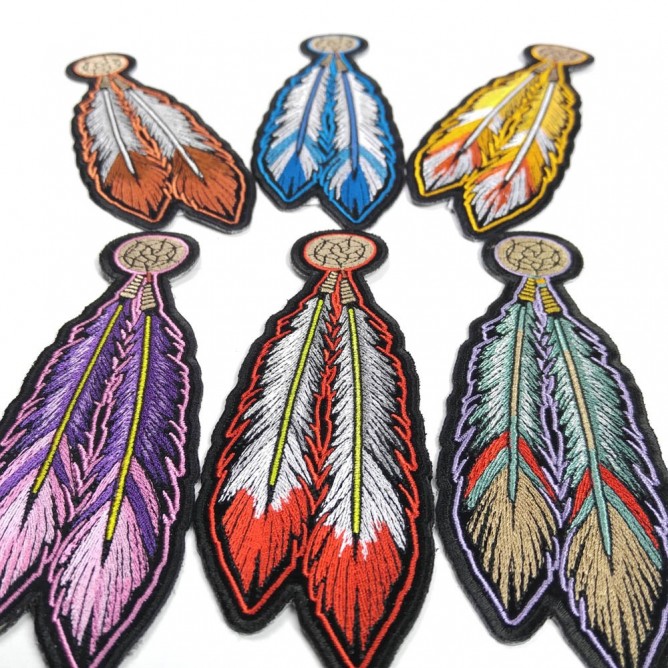
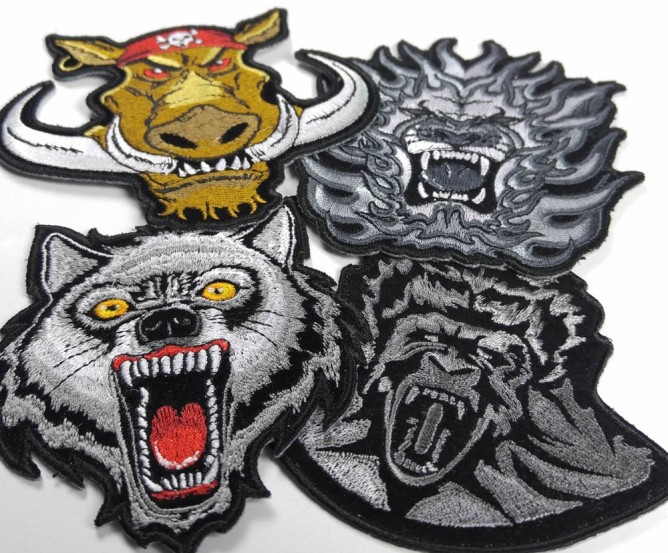
One of those days I spent Photographing our embroidered patches from different angles. I took all these photos using my LG V10 phone. It has a very strong camera and once you set it up on tripod you can really take some photos of your patches really efficiently. I set the aspect ratio of the photos to 1:1 which makes it easier to work on a smaller white surface as a background. I set the ISO to the lowest setting which is 50. I turn my lights on and play with the shutter speed until the white background actually looks white. I then put my hand over the white surface so a shadow casts over it. I look and see if the shadow has any yellow or blue in it. If it does I manually adjust the White Balance setting till I have a gray shadow.
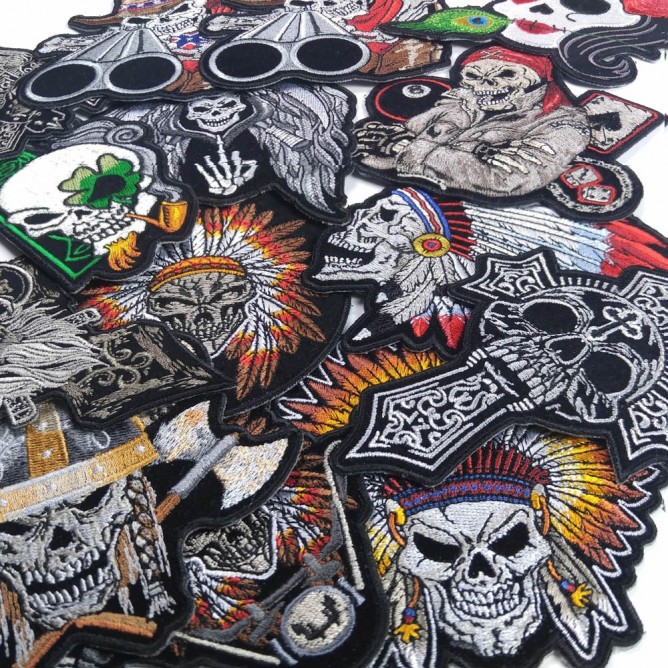
Once the camera settings are all put in I slide a patch on my background and zoom in if needed. Since the photo this camera takes is around 4000 pixels wide it is okay to zoom up to 1.5 times digitally since you are probably going to downsize the images to 1500 pixels. This means you won't have pixelation problems due to digital zooming. Once I have the patch decently sized within my square frame I say "Cheese". That's right, I do not press the screen to snap the photo. This is because when you touch the screen you also shake your camera. Since your shutter speed is quite slow during this setup it will create a slight blur in the images if you touch the camera while snapping the image. Luckily you can say, Cheese or Whiskey to my phone and it will snap a photo.
 After doing about 50 patches I select all the photos I took and upload them to my google photos folder. Just go to the gallery, click the share button. Then touch and hold on the first photo for a second, this will activate something. Then scroll down and touch the last photo and it will select all the photos in between. Press share and select, Upload to Google Photos. (If you don't have Google Photos, get it, it backs up all your photos on your phone to your google account, and it doesn't cost anything, free unlimited storage, their compression of photos is a million times better than Facebook's. You get really high quality versions of your photos stored for free)

Next thing is to move on to your computer and visit your google photos on your internet browser. Select the photos by clicking the checkbox on the upper left of the images (you can hold the shift key and then click a photo down the page and it will select everything in between). After you've selected your photos click that 3 vertical dots on the top right and it will open up a menu where it will say download.
Now you got a compressed file which upon double clicking should extract and create a folder with all your photos in it. From here you can upload them to your site. Which might be a super tedious process unless you make it easy for yourself. That's what I've done. I've got barcodes on the back of all my patches, that barcode is the model number of the patch. I have a barcode scanner and once I scan the barcode it types the model number of the patch into the computer and presses the enter button automatically.
I've setup an "Upload Product Photos" module on my shopping cart. It's very simple. The page opens up and has a place for you to enter a model number. I scan the model number and the product's existing images load. I have a drag and drop area to add photos. I just drag the photos from the finder and drop them to the webpage and the module automatically resizes them to 1500 pixels, renames the files using the products name and adds the image to the product I scanned. Once the upload is over the cursor moves back to the model number box ready to scan the next patch.

I can say I've spent the entire month of November taking videos and photos of almost all our patches once again. I'll tell you next time how I made the videos and uploaded them to youtube efficiently and linked the videos to my product pages on the site.
Remember you don't need a $3000 camera to take great patch photos. Important thing is a good Camera on your Phone, A Piece of White Foam Background Board, Couple of Light Stands AND a Tripod that holds your phone. That's it. Set it all up, Move your Light Stands around and adjust the angle till you have the light hitting the patch just right. This usually happens when you have the light coming in from the sides at a low angle rather than a light that is shining directly on to the patch reflecting it right off into your camera lenses.
