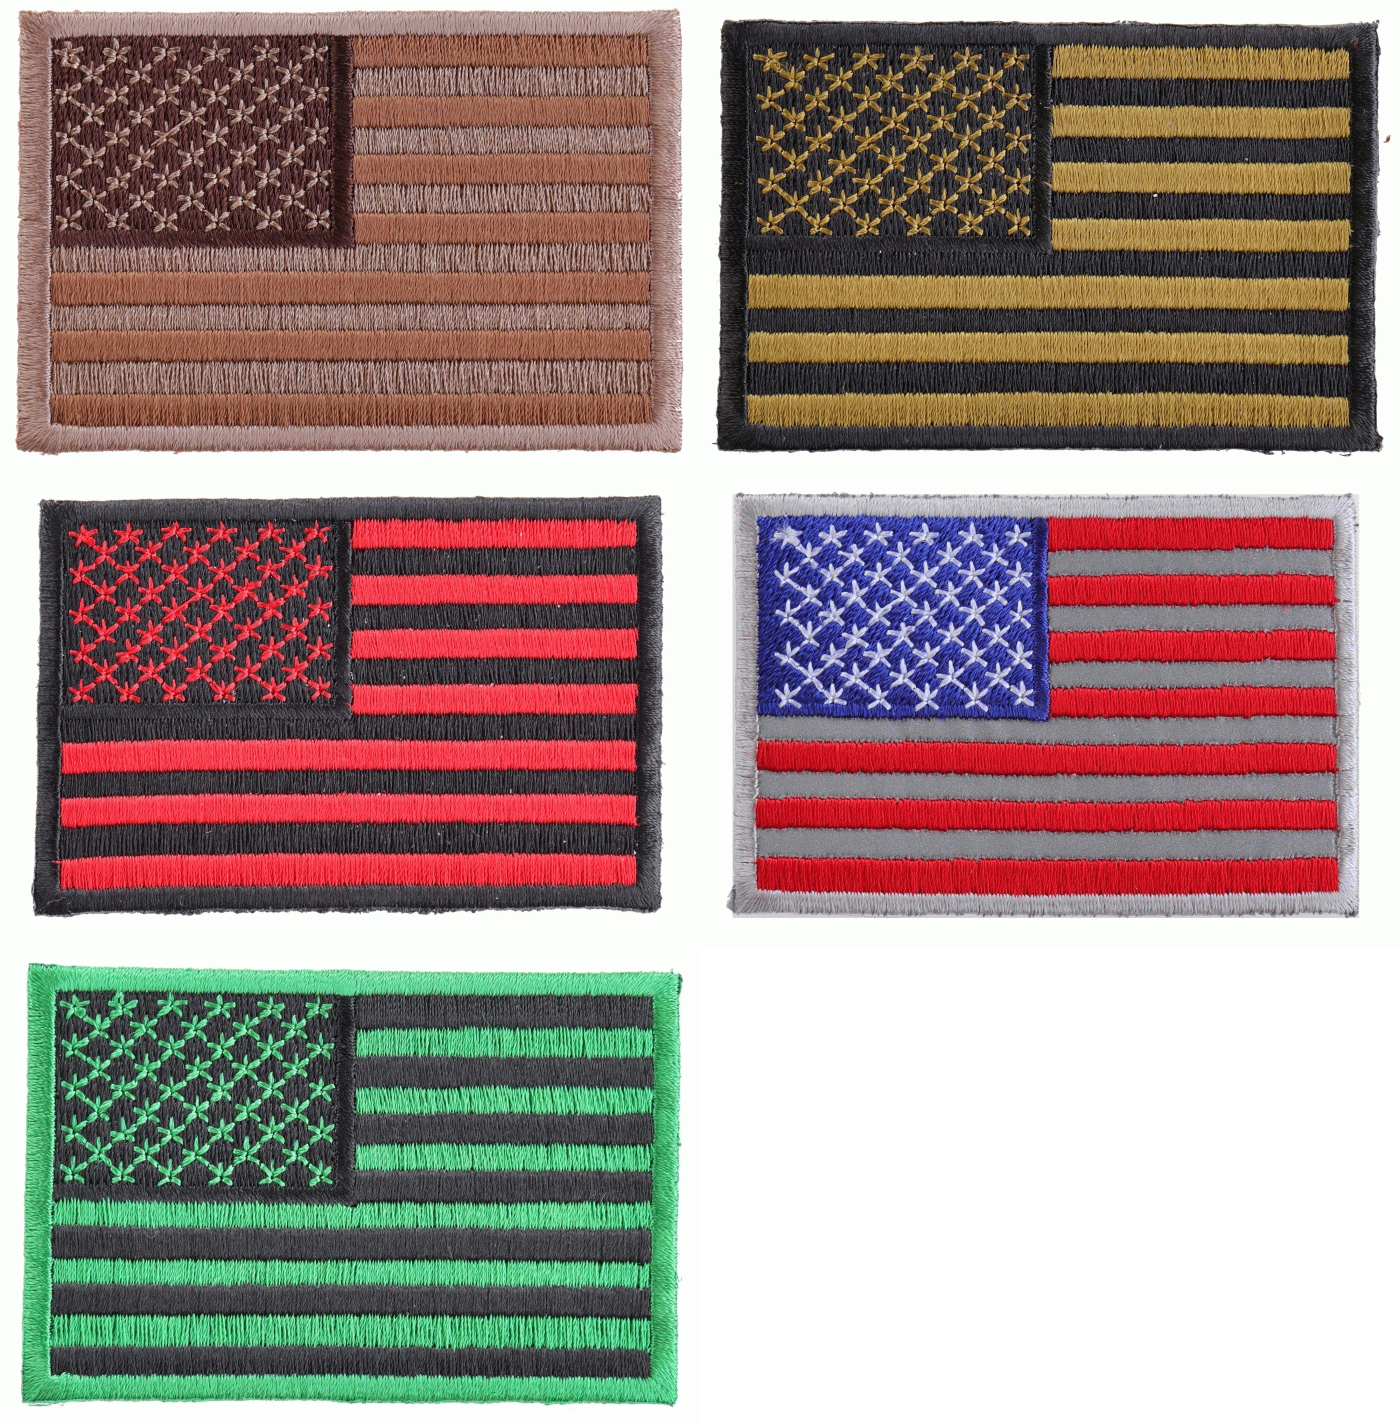
I've been unhappy about the way our primary images looked for lots of patches. So I took the bold task of photographing all our patches once again. It's an enormous task, but you get through it by taking care of a few hundred a day. What I learnt is the best photos are taken under daylight. Forget the fake light setup of a studio, it works but not as good as a photo taken under regular daylight. I've got a Canon EOS M5 camera equipped with a macro lense. It's smaller than the older EOS 7D that I have. Yet it's a lot more powerful and versatile to use. It takes expertise and practice to see what works. I realize I messed up on the white balance settings for my first batch, but I got to find out about the custom white balance setting of the camera. Whites can go two different ways, with a tint of red or blue. Your camera has the functionality to set the white balance to a custom setting. How do you achieve that? Well I did a bit of research and found out. First you want to take a photo of a completely white surface. In my case it's the non reflective white background I use. You snap a photo of just the white background with nothing else. You may have to set your Camera's focus to manual mode so you can get a focus on it (camera's tend to go nuts on you if there is just a single color to focus on automatically). Once you snap your photo, all you have to do is go to the custom white balance setting and pick the photo you just took. This sets the camera's white balance to the correct setting so the next photo you take you don't see any blue or red within your whites. Another trick I learn over the years is, never try to get a pure white background by over compensating on the exposure. Just take a regular old photo. In my case I use a lit up background but it's surely not pure white. What I do is I open up the photo on photoshop, select the background and adjust the exposure of the background to pure white. Using a lit up background helps with selecting the background on photoshop, you don't have the shadows to worry about. I overexpose just the background leaving the actual patch exposed at normal levels. It works great. I've rephotographed over a thousand patches in the last couple of days and now you can really see the details of the whites in the embroidery. Before they were all over exposed losing the details. One day perhaps I'll make a video showing you all how to achieve all this incase you didn't get it in my post. Hope you've enjoyed this post. RIDE SAFE and take your own photos, it's the only way to get good at photography.


